CPV Lab v. 13.0 - One Page Install Wizard
Step 1 - Check Server Requirements
Make sure that all requirements are passed (Green color) before moving to Step 2.
- PHP version 8.1 - 8.3 (PHP 8.3 recommended): current version 8.4.17 -> FAIL - Contact your webhost to update your PHP to 8.1 - 8.3
- ionCube Loader version 13.0 or above: current version 15.0.0 -> PASS
- External requests enabled: -> PASS - both file_get_contents and cURL are working
- memory_limit directive set to at least 256M: -> PASS - it is set to 1024M
- Required PHP extenstions:
- bcmath extension is loaded
- iconv extension is loaded
- json extension is loaded
- mbstring extension is loaded
- mysqli extension is loaded
- session extension is loaded
- SimpleXML extension is loaded
- xmlreader extension is loaded
- zip extension is loaded
Step 2 - Download Install Package
Enter the license email (the email address used on purchase), PHP version and ionCube Loader version in the boxes below.
These will be pre-filled automatically when possible.
Click on the button to download the appropriate install package for your server settings. Unzip this package on your computer.
Upload all files and folders from the "V13 Install" directory in the package on the server
(use Filezilla FTP client or File Manager utility from cPanel or any other FTP utility) and then return to this page and continue with Step 3.
If using File Manager from cPanel you can also upload a ZIP archive with all files and directories in the "V13 Install" folder (without the "V13 Install" folder, just the contents of it), then choose the option to "Extract" in the install location.

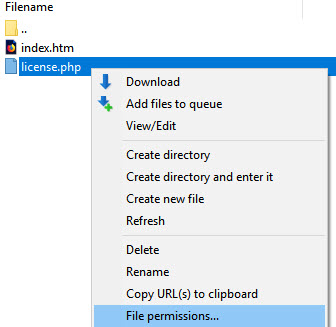
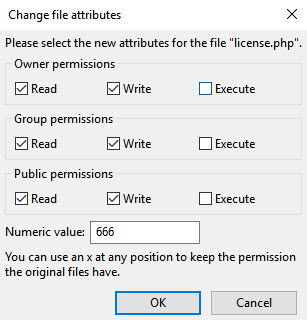
Step 3 - Set File Permissions - click the button to check permissions automatically
After uploading all files from the "V13 Install" folder from the archive downloaded at Step 2, use the button below to check file permissions automatically.
Most of the times permissions are fine by default, otherwise please set write permissions as described below.
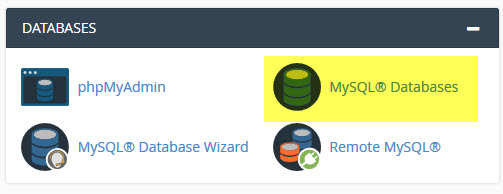
Step 4 - Create the Database
Follow these steps to create a blank MySQL database and a MySQL user for the application.
(click on each link to show sample image on the right)
- You need to open the MySQL Databases utility from cPanel or any other database tool.
- Choose the option to create a new database and enter a name for it.
- You'll see a confirmation message saying that the database has been created.
- Add a new MySQL user and define a password for it.
- You'll see a confirmation message saying that the MySQL user has been created.
- Add the new user to the new database.
- Assign all privileges to the new user.
- You'll see a confirmation message saying that the privileges have been added.
Step 5 - Finish the Install
Once the install is complete you will be redirected to the login page. Login using "admin" as both username and password.